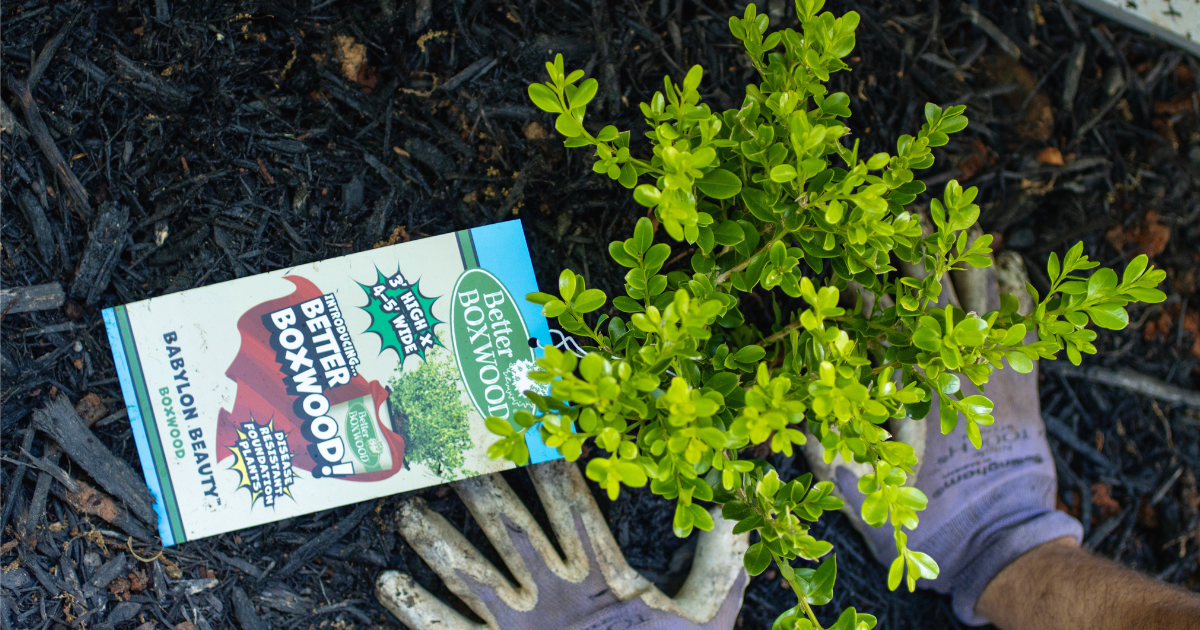
Whether you're correcting spacing issues or simply giving your Better Boxwoods a new home, transplanting doesn’t have to be intimidating. In fact, Better Boxwoods are quite adaptable and known for handling transplanting well when given the right care. This guide walks you through the best timing, tools, and step-by-step process to help your shrubs thrive in their new spot.
When to Transplant Boxwoods
The best time to transplant boxwoods is in the fall, when temperatures are cooler and rainfall is more consistent. This gives the roots time to establish before winter sets in. Early spring is also an option, but you’ll need to take more precautions to avoid transplant shock.
Whichever season you choose, make sure you transplant within 24 hours of digging the plant up. Boxwoods don’t like to sit out; their roots can dry quickly, leading to stress and even death.
Tools You’ll Need
- Shovel
- Watering can or hose
- Mulch
- Tarp (to transport the plant)
- Compost or soil amendments
- Garden gloves
- Fertilizer (optional)

Optional Prep: Root Pruning
If you’re planning ahead, root pruning one year before transplanting gives your boxwood a better chance of success. About a foot from the trunk, cut vertical slits 18 inches deep around the plant. This encourages root branching and helps the plant develop a more compact, transplant-ready root ball.
But if you didn’t root prune last year, don’t worry! You can still transplant successfully by following the steps below.
Water First
Water your boxwood deeply the day before transplanting. Moist soil is easier to dig, and keeping the root ball hydrated reduces transplant shock. Aim to soak the soil up to 12 inches deep.

Step-by-Step: How to Transplant Boxwoods
1. Dig Around the Drip Line: Start by digging a trench around the outer edge of the plant, ideally at or just beyond the drip line (the area beneath the outermost branches). Avoid digging too close to the trunk, as this could damage the main roots and stress the plant. Angle your spade or shovel inward and dig gently to avoid damaging the roots. Boxwood roots are shallow but wide, so focus on preserving width over depth. A general rule of thumb is that the root ball is roughly 1/3 the height of the plant in depth.
2. Lift Carefully: Once the roots have been severed, carefully lift the shrub and place it on a tarp. Aim to keep as much soil around the roots as possible. For larger boxwoods, get help from a second person.
3. Prepare the New Hole: Dig a hole twice as wide as the root ball and just as deep. However, be careful not to dig the hole too deep, as you don’t want the boxwood to struggle to drain water properly.
4. Plant at the Right Height: Place your boxwood in its new home so that the top of the root ball sits about 1 inch above the soil level. This helps prevent rot and improves drainage.
Soil, Fertilizer, and Backfill
- Amend poor soil with compost or organic matter.
- Use a transplant-friendly fertilizer that supports root growth. Look for starter fertilizers or root stimulators with a higher middle number (phosphorus), such as 4-10-6. Avoid high-nitrogen products, which can burn roots and delay establishment.
- Backfill with existing soil, tamping down as you go to remove air pockets.
- Water thoroughly to help settle the soil.
Mulch & Watering
- Apply 1 inch of mulch around the base to retain moisture.
- Water daily for the first few weeks while your boxwood adjusts.
- After that, scale back to a regular watering schedule based on your local climate and soil conditions.
Spring Transplanting Notes
If you’re transplanting in spring:
- Wait until all frost danger has passed.
- Transplant before new growth emerges.
- Watch for signs of shock like wilting, leaf drop, or yellowing.
To minimize transplant shock:
- Water consistently.
- Avoid fertilizing heavily during this time.
- Provide partial shade if temps rise quickly.
Boxwoods are hardy, but they still need a little TLC after a move. Keep an eye on your plants in the weeks following transplanting. Water as needed, watch for signs of stress, and don’t worry if you see a bit of leaf drop. That’s totally normal as they adjust.
With the right timing, a gentle touch, and a little patience, your Better Boxwoods will thrive in their new location. Whether you're correcting spacing or giving your landscape a refresh, transplanting is simpler than it sounds and totally worth it.
👉 Need more tips or want to explore the full Better Boxwood collection? Visit our website for more care and planting tips, or use our Garden Center Locator to find a retailer near you!
